There’s something about pulling a perfect little cake out of the air fryer that feels like magic. Mini chocolate cakes are warm, fudgy, and just the right size to make you feel like you’re getting away with somethingeven when you share.
I started testing individual desserts back in 2021 when I realized the air fryer could handle delicate batters without drying them out. The first batch came out with crisp edges and molten centers, and I knew I’d cracked it. After tweaking the temperature twice, these became my go-to when I want chocolate fast but don’t want to heat up the whole oven.

Mini Chocolate Cakes Recipe Easy Delicious and Perfect
Ingredients
Method
- Set your oven to 180°C or 350°F (160°C fan-forced). Butter a baking tray measuring approximately 40 x 28.5 x 2.5 cm and line it with parchment paper.
- In a mixing bowl, sift together the flour, cocoa powder, baking powder, and baking soda. Stir in the sugar and salt until combined.
- Add the egg, milk, oil, and vanilla extract to the dry mix and whisk well. Dissolve instant coffee powder in boiling water and blend it into the batter, which will be very runny.
- Pour the mixture evenly into the prepared tray and bake for 13 minutes until set.
- Let the cake cool in the pan for 10 minutes. Use the parchment overhang to lift the cake and place it on a rack to cool for 30 minutes. Chill the cake uncovered in the fridge for at least an hour before cutting.
- Cover the sticky cake surface with parchment paper then flip the cake upside down onto a cutting board. Gently peel off the base paper. Press out 21 rounds, each about 6 cm or 2.4 inches in diameter.
- To prepare the buttercream, beat softened butter at high speed for 3 minutes until light and fluffy. Gradually add the sifted icing sugar in three batches, starting at low speed and increasing to avoid dust.
- After incorporating all the sugar, mix in the cocoa powder, milk, and vanilla extract. Beat again, starting slowly, then at high speed for 3 minutes until very fluffy.
- Place one cake round on a small piece of paper with a dollop of frosting to keep it steady. Pipe spirals of buttercream and stack three layers per mini cake. Spread frosting on the sides and top.
- Smooth the frosting carefully with a small spatula or knife, avoiding disturbing the cake surface to keep it crumb-free.
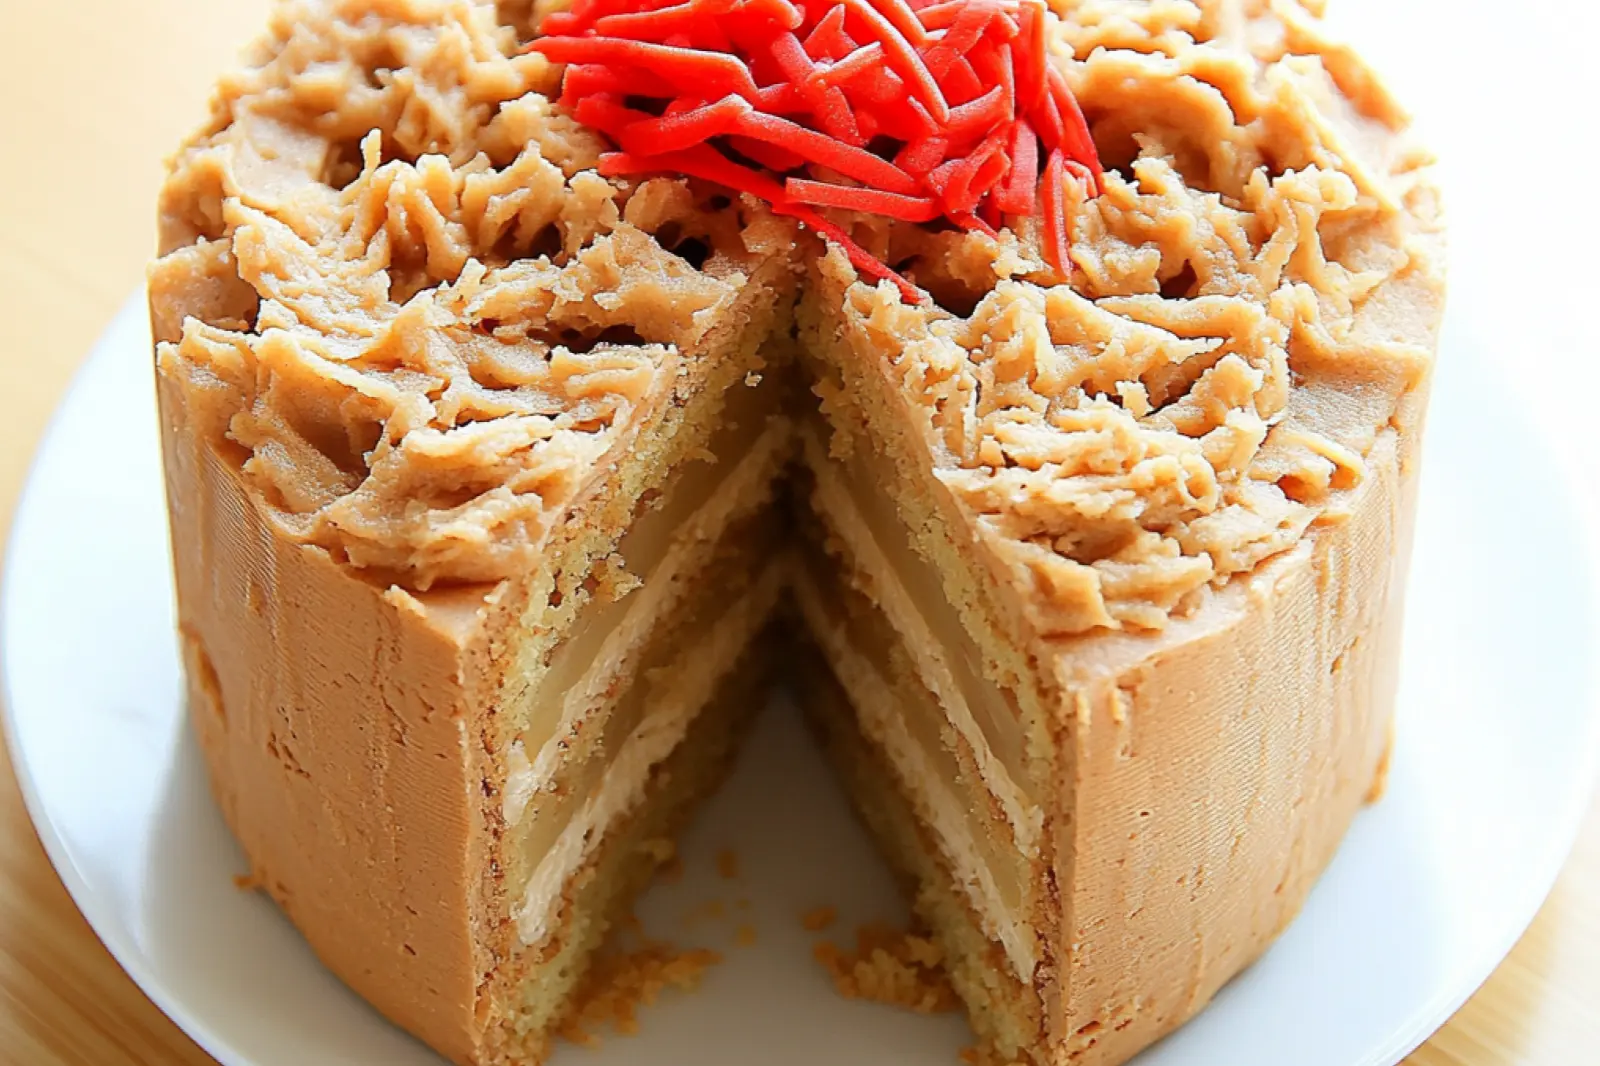
- Finish by decorating with shavings of dark chocolate and garnish with raspberries and rosemary sprigs if desired.
- Transfer the buttercream to a piping bag for easier frosting application; a ziplock bag works as a simple alternative.
Notes
- You can substitute dutch-processed cocoa if you prefer a deeper chocolate flavor. Baking soda can be swapped with extra baking powder if needed. Coffee powder enhances chocolate flavor but is optional. For tidier shapes, try making square or rectangular cakes instead of rounds. Cakes keep fresh in the fridge for up to 5 days or can be frozen for 3 months. Always cool cakes completely before storing and cover with parchment to prevent sticking.

Why You’ll Love These Little Beauties
These mini chocolate cakes hit differently than a regular cake slice. You get three full layers of tender chocolate sponge with a dreamy frosting-to-cake ratio that makes every bite feel indulgent. Plus, they’re yoursno sharing required unless you’re feeling generous.
Here’s what makes them special:
- Bakes in 13 minutes: One shallow pan means faster baking and less waiting around.
- No mixer drama: Just whisk the batter by handit comes together in minutes.
- Customizable sizes: Round, square, or rectanglecut them however your heart desires.
- Party-ready: They look fancy but come together with pantry staples like flour, cocoa powder, and milk.
The Ingredients That Do the Heavy Lifting
You’ll recognize everything hereno specialty shop runs needed. The star is unsweetened cocoa powder, which gives you that deep chocolate flavor without any bitterness. A splash of instant coffee powder (totally optional) quietly amplifies the cocoa, though you won’t taste coffee at all.
The batter uses plain oil instead of melted butter, which keeps the crumb incredibly soft for days. Boiling water thins everything out to an almost-pourable consistencydon’t panic when you see how liquidy it looks. That’s exactly what creates the tender texture.
| Ingredient | Why It Matters |
|---|---|
| Cocoa powder | Rich chocolate flavor; sift to avoid lumps |
| Plain oil | Keeps cakes moist longer than butter |
| Boiling water | Thins batter for an ultra-tender crumb |
| Baking soda + powder | Double leavening ensures even rise |
How the Magic Happens
Start by whisking all your dry ingredientsflour, cocoa, baking powder, baking soda, sugar, and saltin one bowl. Then add the egg, milk, oil, and vanilla extract. Dissolve the coffee powder in the boiling water and pour it in last. The batter will look shockingly thin, almost like hot chocolate. That’s your cue you’re doing it right.
Pour into your lined pan and bake at 180°C (350°F) for just 13 minutes. Let it cool completely, then refrigerate for at least an hourthis firms up the cake so you can cut clean rounds without tearing. Flip it sticky-side down onto a cutting board, peel off the paper, and press out your circles with a round cutter.
Pro Tip: No round cutter? Cut the whole cake into three equal rectangles, frost them as one tall cake, chill to set, then slice into individual squares. Zero waste, same deliciousness.
Troubleshooting the Tricky Bits
- Cake sticking to cutter? Make sure you flip it sticky-side down and work coldwarm cake will drag and tear.
- Frosting too stiff? Add milk one teaspoon at a time and beat again until fluffy.
- Crumbs in your frosting? Use a light hand when smoothingpress the spatula against the frosting, not the cake itself.
- Batter seems too runny? It’s supposed to be! That thin consistency is what makes the crumb so soft.
Decorating Without the Stress
The chocolate buttercream is your secret weapon. Beat softened butter for three full minutes until it’s pale and fluffy, then add powdered sugar in batches to avoid a kitchen snowstorm. Once the cocoa powder, milk, and vanilla are mixed in, beat on high for another three minutesthat’s what makes it light and pipeable.
Transfer to a piping bag (or a ziplock with the corner snipped off) and pipe coils of frosting between each layer. Smooth the sides with a small offset spatula or butter knife, then pile on shaved dark chocolate for texture and a little drama. Raspberries and rosemary sprigs add a pop of color if you’re feeling fancy.
Swaps and Tweaks You Can Make
| Swap This | For This |
|---|---|
| Plain oil | Melted coconut oil or melted butter |
| White sugar | Coconut sugar (color will be darker) |
| Full-fat milk | Almond milk or oat milk |
| Dark chocolate shavings | White chocolate, sprinkles, or crushed cookies |
How to Serve and Store Them
Serve these at room temperature or slightly chilledboth ways work beautifully. They’re sturdy enough to stack on a platter for parties or tuck into individual boxes for gifting. Pair with fresh berries, a dollop of whipped cream, or just a fork and zero regrets.
Storage: Keep assembled cakes in the fridge for up to five days in an airtight container. The cake stays incredibly moist thanks to that oil-based batter. You can also freeze unfrosted cake layers for up to three monthsjust wrap them tightly and thaw before decorating.
If you’re prepping ahead, bake the cake up to five days early. Let it cool completely, cover the sticky top with parchment, wrap in plastic, and refrigerate until you’re ready to assemble.
Join me on for more irresistible recipes and daily cooking inspiration Pinterest!
FAQs ( Mini chocolate cakes )
What size pan should I use for individual portions?
Use a standard 12-cup muffin tin or 6-cup jumbo muffin pan for best results. Fill each cup about 2/3 full to prevent overflow. You can also use 4-ounce ramekins placed on a baking sheet. Grease well or use paper liners for easy removal.
How long do these keep fresh?
Store covered at room temperature for up to 3 days or refrigerate for up to a week. For longer storage, wrap individually in plastic and freeze for up to 3 months. Thaw at room temperature for about 30 minutes before serving.
Can I make the batter ahead of time?
The batter works best when baked immediately after mixing. However, you can prepare it up to 2 hours in advance and store covered in the refrigerator. Let it come to room temperature for 15 minutes before baking for even results.
What makes them extra moist and fudgy?
The combination of oil and sour cream creates incredible moisture, while the right ratio of cocoa powder to flour ensures rich chocolate flavor. Don’t overbake – they’re done when a toothpick has just a few moist crumbs attached.
Can I substitute ingredients for dietary restrictions?
For gluten-free, use a 1:1 baking flour blend. Replace eggs with flax eggs or applesauce for vegan versions. Dairy-free milk and coconut cream work well instead of regular milk and sour cream. Results may vary slightly in texture.
You’ll love how these mini chocolate cakes turn outtender crumb, fudgy layers, and that perfect frosting swirl in just 13 minutes of baking. They smell like a chocolate dream and taste even better than they look.
Try swapping the dark chocolate shavings for crushed Oreos or a drizzle of salted caramel if you’re feeling adventurous. Store leftovers in the fridge for up to five daysthey actually get more fudgy overnight, which is a happy little bonus I discovered by accident.

Did you make these for someone special? Snap a pic and tag meI love seeing your creations come to life. These little beauties deserve to be shared, saved, and maybe even hoarded just a little. Happy baking, friend.