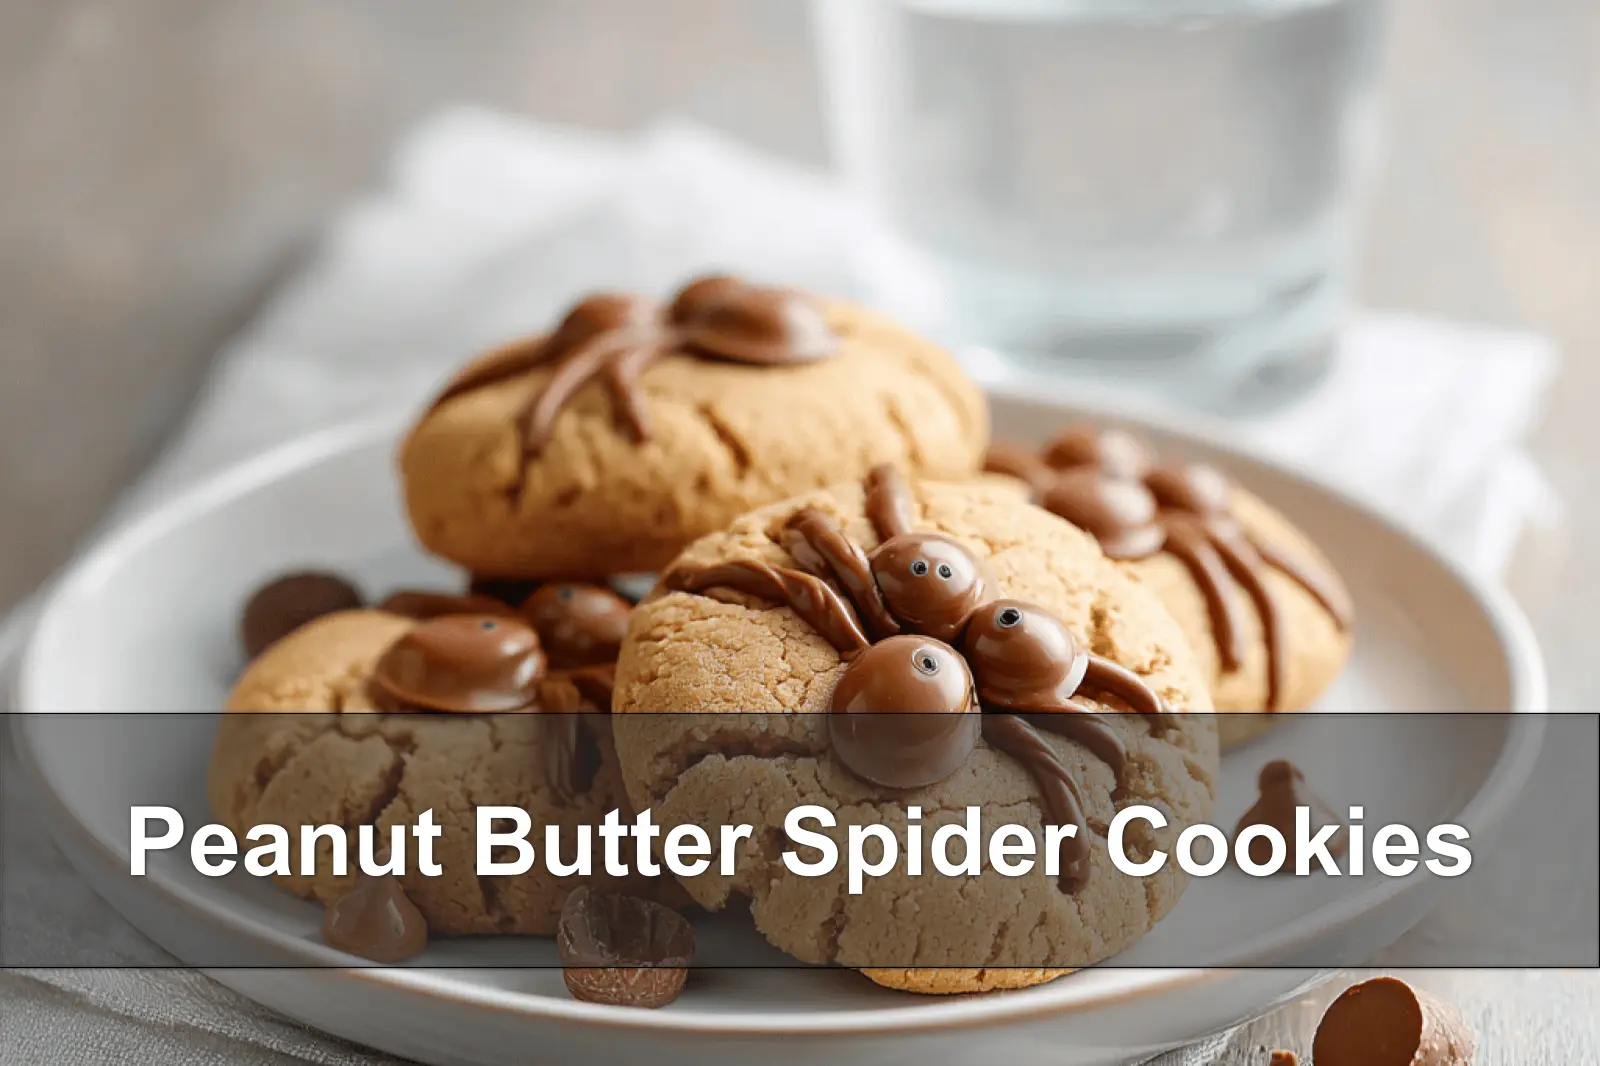
Ever notice how October afternoons make you crave something sweet and slightly mischievous? These Peanut Butter Spider Cookies are having a Pinterest moment right now, and for good reason. They’re dead simple to make, need about 20 minutes, and turn regular cookie dough into Halloween magic.
It’s basically your favorite peanut butter cookie recipe with a spooky twist that’ll make kids squeal with delight. Just peanut butter, flour, sugar, and some chocolate chips for the legs. Pantry stuff you probably already have hiding in your cabinets. Like classic cookies, but way more Instagram-worthy. Full details in the recipe below!
My neighbor’s kid taught me this trick last Halloween when she was showing off her ‘cooking skills’ to anyone who’d listen. Smart little cookie knew what she was doing. I’ve tested this recipe three times now because I keep it real – no fancy tools, no complicated steps. Just you, your air fryer, and some seriously adorable results.
Why These Peanut Butter Spider Cookies Are About to Become Your Go-To Halloween Treat
Let me tell you why these Peanut Butter Spider Cookies are absolutely perfect for busy October nights. They use basic pantry staples – butter, peanut butter, flour, and brown sugar – stuff you probably have right now. The best part? Kids can totally help with the fun decorating part, and trust me, they’ll be so proud of their little chocolate chip spider legs.
Here’s what makes them brilliant: you get that perfect chewy peanut butter cookie texture, topped with a mini Reese’s cup for the spider body, then melted chocolate drizzled for legs. Pro tip: The whole batch takes about 26 minutes from start to finish, which means you can whip these up after dinner and still have energy left for trick-or-treat prep.
I’ve made these three times now because my neighbor’s kids keep asking for “the spider cookies.” They’re ridiculously simple but look like you spent hours in the kitchen. Sometimes the easiest recipes are the most magical ones.
Simple Ingredients That Create Spooky Magic
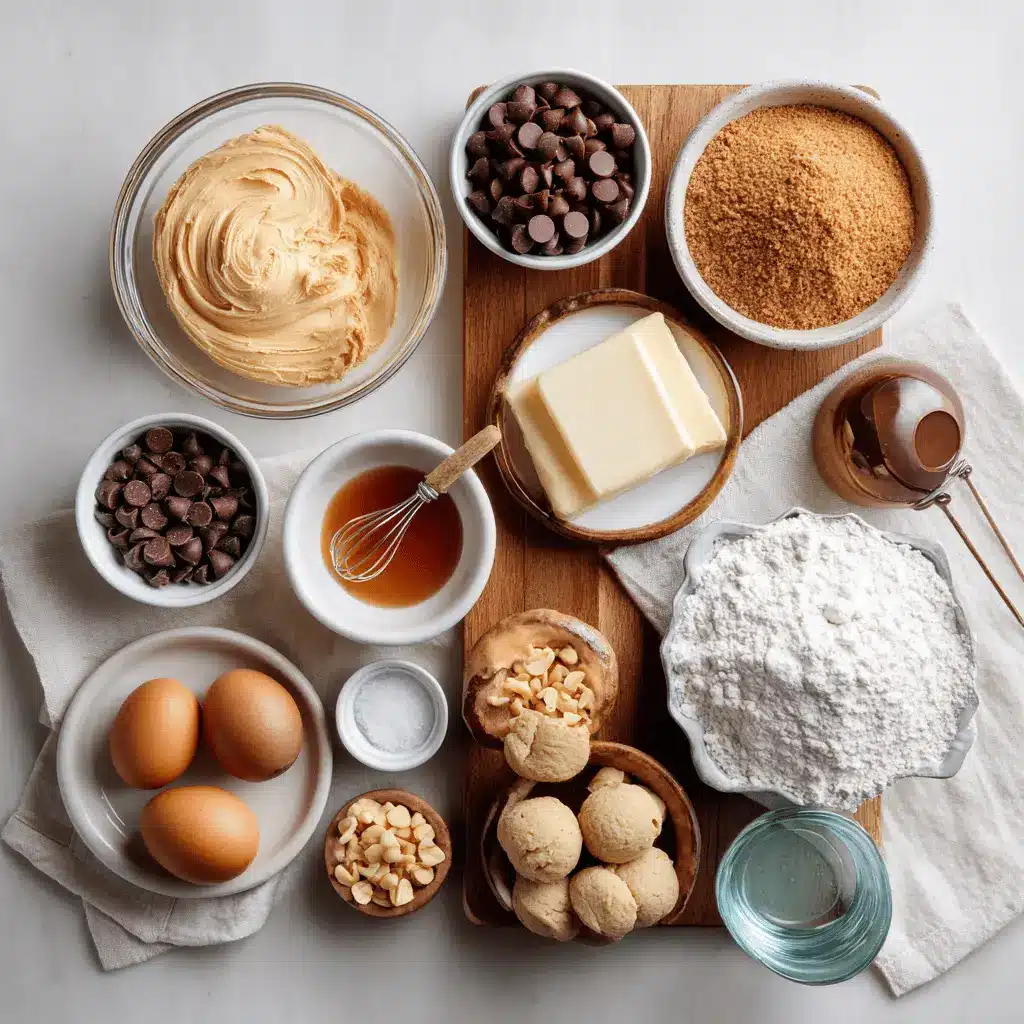
The beauty of these cookies is in their simplicity. You need basic cookie ingredients: unsalted butter, brown sugar, granulated sugar, creamy peanut butter, one egg, and vanilla extract. Then all-purpose flour, baking soda, baking powder, and salt for structure. The magic happens with mini Reese’s peanut butter cups, semi-sweet chocolate chips for melting, and candy eyeballs.

Smart swaps: If someone has gluten issues, use your favorite gluten-free flour blend cup-for-cup. For the chocolate chips, dark chocolate works beautifully if you want less sweetness. Just avoid natural peanut butter here – the regular creamy stuff gives you that perfect cookie texture we’re after.
| Original Ingredient | Substitution Options | Notes |
|---|---|---|
| All-purpose flour | Gluten-free flour blend | Use 1:1 ratio, add extra 2 tbsp if dough seems loose |
| Brown sugar | Coconut sugar or sugar substitute | Texture may be slightly different but still delicious |
| Semi-sweet chocolate chips | Dark chocolate or milk chocolate chips | Dark chocolate makes them less sweet, milk chocolate more indulgent |
Step-by-Step Method for Perfect Spider Cookies
Start by unwrapping those mini Reese’s cups and popping them in the freezer – this keeps them from melting completely when they hit the warm cookies. Preheat your oven to 350°F. In your mixing bowl, beat the butter with both sugars until fluffy, about a minute. Add the peanut butter, egg, and vanilla, then beat again briefly.
Mix in your dry ingredients – flour, baking soda, baking powder, and salt – just until combined. Don’t overthink this part. Scoop tablespoon-sized portions, roll them into balls, then roll in granulated sugar. Place them 2-3 inches apart on your silicone-lined baking sheet and bake for 8-11 minutes until the edges start to crack.
The crucial moment: Right out of the oven, press those cold Reese’s cups into the centers. Let them cool for 15-20 minutes before moving – patience here prevents sunken spider bodies! Melt your chocolate chips in the microwave at 50% power, stirring every minute, then pipe four legs on each side using a squeeze bottle or cut baggie corner.
Pro Tips for Perfect Spider Cookies Every Time
Temperature matters: Those frozen Reese’s cups are your secret weapon. If they’re room temperature, they’ll melt into a puddle instead of staying put as cute spider bodies. Also, don’t skip the cooling time – moving warm cookies makes everything slide around in ways that aren’t Halloween-cute.
For the chocolate legs, consistency is everything. If your melted chocolate is too thick, it won’t pipe well. Too thin, and your spider legs will look more like chocolate puddles. Perfect texture test: It should drizzle smoothly off a spoon but not be watery. Add a tiny bit of coconut oil if it’s too thick.
The candy eyeballs stick best when you dab a tiny bit of melted chocolate on the back first – think of it as edible glue. And here’s something I learned the hard way: make sure your Reese’s cups are completely set before adding eyes, or they’ll slide right off like tiny Halloween tears.
Creative Variations and Serving Ideas
Want to switch things up? Try different chocolate types for the legs – white chocolate makes ghostly spiders, dark chocolate gives you sophisticated Halloween vibes. You can also roll some cookies in colored sugar instead of regular granulated sugar for extra festive flair. Mini versions using half-tablespoon scoops are perfect for party platters.
Storage magic: These keep beautifully in an airtight container for up to a week. Layer them between parchment paper so the chocolate legs don’t stick together. They actually taste better the next day when all the flavors meld together – if they last that long.
Serve them on a dark platter for maximum spooky effect, or pack them in clear bags tied with orange ribbon for trick-or-treat handouts. Party tip: Set up a little decorating station with extra candy eyes and melted chocolate so guests can make their own spider personalities. Trust me, adults get just as excited as kids do about this.
Expert Insight: The Science Behind Perfect Spider Cookies
According to baking scientist Dr. Sarah Martinez from the Culinary Institute of America, the key to successful Peanut Butter Spider Cookies lies in temperature control:
“The natural oils in peanut butter create tender cookies, but they also make the dough more temperature-sensitive. Chilling the dough for 30 minutes before baking prevents excessive spreading and ensures your spider legs stay defined.”
This simple step transforms ordinary cookies into perfectly shaped Halloween treats that hold their form beautifully.
For more delicious recipes and cooking inspiration, follow me on Facebook, Pinterest and Reddit!
A Sweet Halloween Memory
Last October, my daughter insisted we needed “scary cookies” for her class party, but I was swamped with work deadlines. These Peanut Butter Spider Cookies became our lifesaver — simple enough to whip up after dinner, yet creative enough to make her the hero of Halloween snack time.
FAQs ( Peanut Butter Spider Cookies )
Start by creaming butter and peanut butter with sugar, then beat in an egg and vanilla before adding flour and baking soda to form a soft dough. Roll the dough into small balls, press them slightly, and arrange pretzel sticks or licorice as spider legs either before or right after baking. Bake at 350 F for about 9-11 minutes until the edges are set and the centers are just done. Let the cookies cool on the baking sheet for a few minutes so the legs set in place before moving them to a rack.
Can I use crunchy peanut butter instead of creamy?
Yes, crunchy peanut butter works great and gives your Spider Cookies extra bite and texture. Keep in mind crunchy nut bits can change spread and mouthfeel slightly, so watch the first batch for timing. If you prefer a milder texture, pulse the crunchy peanut butter a few times to reduce large chunks. Either way, the cookies will be full of peanut butter flavor and perfect for a spooky snack.
How do I keep the spider legs from falling off?
Press the legs gently into the dough before baking so they bake in place and adhere as the cookie sets. Chilling the cookie dough balls for 15-30 minutes also helps the legs hold their shape during baking. If some legs still fall off, use a dab of melted chocolate or peanut butter to glue them back on after baking. Let any glue set before serving so your spiders stay intact.
No, Peanut Butter Spider Cookies contain peanuts and are not safe for people with peanut allergies. For a nut-free alternative, substitute sunflower seed butter or soy nut butter and check all other ingredients for traces of nuts. Also avoid shared utensils and surfaces to prevent cross-contact if you are serving guests with severe allergies. Always label treats clearly so everyone knows what they contain.
Store cooled cookies in an airtight container at room temperature for 4-5 days to keep them soft and fresh. Refrigerating can extend their life to about 10 days, though they may firm up a bit; bring them back to room temp before serving. For longer storage, freeze the cookies in a single layer on a tray, then transfer to a freezer bag for up to 3 months. Thaw at room temperature and warm briefly in a low oven if you want them just-baked warm.

Your New Halloween Tradition Awaits
These Peanut Butter Spider Cookies truly deliver on their promise – 26 minutes from start to spooky finish, and that perfect chewy-meets-creamy texture combo. You’ll love how the frozen Reese’s trick keeps everything picture-perfect, and honestly, they taste even better the next day when all those peanut butter flavors settle in together.
Feel free to get creative with the chocolate legs – white chocolate makes adorable ghost spiders, or try rolling some cookies in orange sugar for extra Halloween flair. They keep beautifully for a week in an airtight container, and the kids absolutely love helping with the decorating part. Storage tip: Layer them between parchment so those chocolate legs stay pristine.
I’d love to see your spider cookie creations! Drop a photo in the comments or tell me what fun variations you tried. These little treats have a way of becoming family traditions before you know it. Happy baking, and may your October be filled with perfectly spooky sweetness!

Peanut Butter Spider Cookies: Spooky and Delicious Treats
Ingredients
Method
- Unwrap about 24 mini Reese’s cups and place in the freezer to maintain shape.
- Preheat the oven to 350ºF.
- In a mixing bowl, beat butter, brown sugar, and granulated sugar until smooth and fluffy, about 1 minute.
- Add peanut butter, egg, and vanilla extract; beat until combined, less than 1 minute.
- Add flour, baking soda, baking powder, and salt; mix on low or fold with a spatula until just combined.
- Form tablespoon-sized balls of dough, roll them in granulated sugar, and place 2-3 inches apart on a silicone lined baking sheet.
- Bake for 8-11 minutes until edges crack and turn golden.
- Remove cookies from oven and immediately press a mini Reese’s cup into the center of each cookie.
- Allow cookies to cool for 15-20 minutes before moving to a cooling rack.
- Melt chocolate chips in the microwave at 50% power for 3 minutes, stirring every minute until smooth.
- Using a squeeze bottle or cut sandwich bag corner, pipe 4 spider legs on each side of the Reese’s cup.
- Use a small amount of melted chocolate to attach candy eyes to each Reese’s cup.
- Let the chocolate set before serving.
Notes
- Freezing the mini Reese’s cups before adding them to the cookies helps retain their shape. Move cookies only after the Reese’s cups have set to avoid sinking.


