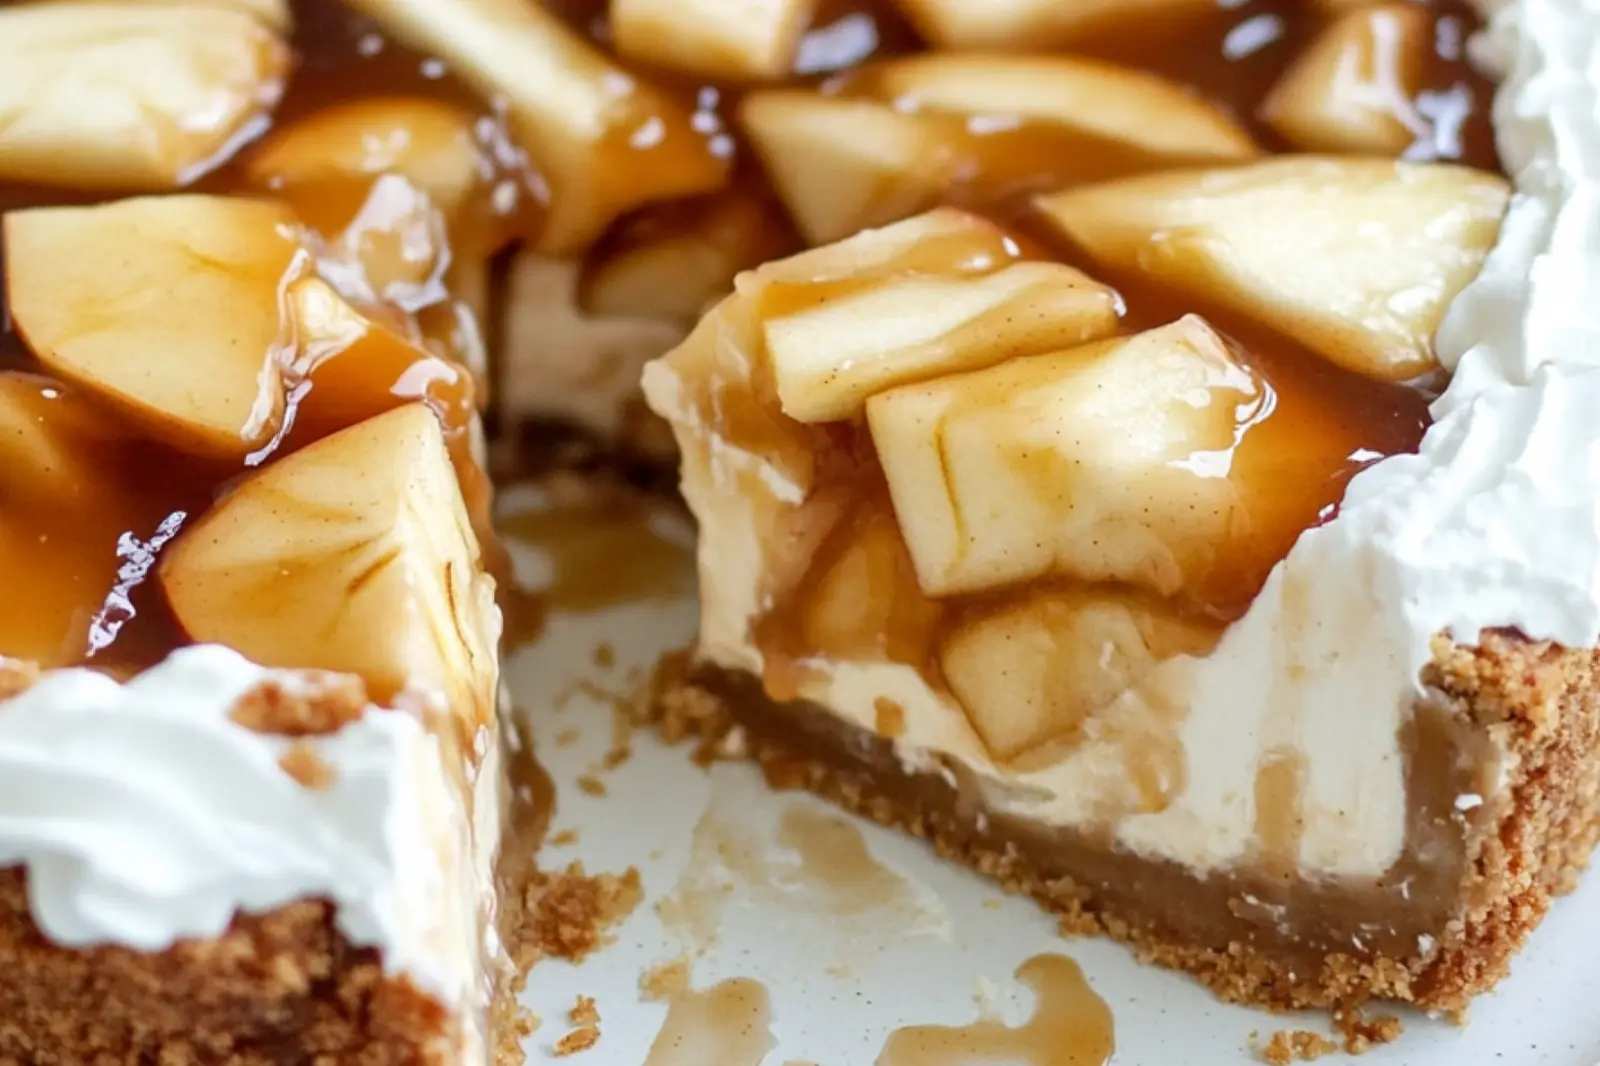
You know that moment when you walk into grandma’s kitchen and smell buttery crust baking? That’s exactly what this perfect pie recipe brings back and it’s everywhere on Pinterest right now for good reason. This foolproof method works whether you’re a total beginner or just want something reliable. Twenty minutes of prep, and you’ll have a pie that looks like it took all day.
Think flaky, golden crust that actually holds together (no soggy bottoms here!) paired with whatever filling makes your heart happy. We’re talking basic pantry ingredients flour, butter, a pinch of this and that. It’s like having your favorite bakery recipe right in your own kitchen. Full details in the blog!
I’ve been perfecting this technique for years, tweaking it until even my pickiest family members started asking for seconds. There’s this one little trick with the butter temperature that changes everything totally game-changer. Trust me, I’ve tested this about a hundred times, and you’re going to love how simple it actually is.
Why This Perfect Pie Recipe Will Become Your Go-To
This isn’t just another pie recipe that sounds fancy but falls apart when you try it. I’ve spent years tweaking this method until it became absolutely foolproof the kind that works even when you’re juggling kids, work calls, and dinner prep all at once.
- Actually beginner-friendly: No fancy techniques or mysterious ingredient measurements
- Flexible filling options: Works with apple, berry, pumpkin, or whatever you have on hand
- Make-ahead friendly: Prep the crust morning-of or even the night before
- Consistently gorgeous results: That golden, flaky crust happens every single time
The Secret Behind This Perfect Pie Recipe
Here’s what makes this method different: it’s all about butter temperature and a simple folding technique that creates natural layers. No ice water baths or complicated chilling schedules just real kitchen logic that actually makes sense.

The magic happens in three steps: cold butter gets mixed just enough to create pea-sized pieces, then we add liquid slowly, and finally fold (don’t overwork!) until it barely comes together. That’s literally it. The imperfect, slightly shaggy dough is exactly what you want.
| Step | What You’re Doing | Why It Matters |
|---|---|---|
| Cold butter mixing | Cut into pea-sized pieces | Creates flaky layers when baked |
| Liquid addition | Add slowly, mix gently | Prevents tough, chewy crust |
| Final folding | Just until it holds together | Keeps texture tender and light |
Step-by-Step: Making Your Perfect Pie
Start with your dry ingredients in a large bowl flour, salt, and a touch of sugar if you’re doing a sweet pie. Cut your cold butter into small cubes and work it in with a pastry cutter or even your hands until you see those perfect pea-sized pieces.
Now comes the liquid: add it one tablespoon at a time, tossing with a fork after each addition. The moment it starts holding together when you squeeze it, stop mixing. Seriously, resist the urge to make it look perfect.
Press into a disk, wrap in plastic, and chill for at least 30 minutes. Roll out on a floured surface, transfer to your pie dish, and fill with whatever makes your heart happy. Pro tip: A little egg wash on the crust edges gives you that bakery-golden finish.
Troubleshooting Your Pie Adventures
Even with a foolproof recipe, kitchen life happens. Here’s how to fix the most common hiccups without starting over:
- Dough too crumbly? Add liquid one teaspoon at a time until it holds
- Crust shrinking in the oven? Make sure you’re not stretching when you transfer to the dish
- Soggy bottom syndrome? Pre-bake the crust for 10 minutes with pie weights
- Edges browning too fast? Cover with foil strips halfway through baking
| Problem | Quick Fix | Prevention Next Time |
|---|---|---|
| Cracks in rolled dough | Patch with dough scraps + water | Let dough come to room temp 5 min before rolling |
| Filling bubbling over | Place foil under pie dish | Leave 1/2 inch space at top of dish |
| Uneven browning | Rotate pie halfway through baking | Check oven hot spots with bread test |
Smart Swaps and Variations
This base recipe loves to be customized. Swap in whole wheat flour for half the all-purpose if you want extra nuttiness, or add a tablespoon of cocoa powder for chocolate crust magic. The filling possibilities are honestly endless seasonal fruit, creamy custards, even savory options work beautifully.
Seasonal inspiration: Apple-cinnamon in fall, fresh berry medleys in summer, or rich pumpkin when the weather turns cool. The crust holds up to everything, which is why this method has become my kitchen workhorse.
| Original | Swap Option | Flavor Note |
|---|---|---|
| All-purpose flour | Half whole wheat flour | Nuttier, heartier taste |
| Regular butter | European-style butter | Richer, more golden color |
| Water | Cold milk or cream | Extra tender, slightly sweet |
| Plain crust | Add 1 tsp vanilla extract | Subtle warmth, perfect for fruit pies |
Serving and Storage That Actually Works
Fresh pie is gorgeous, but honestly? Day-two pie often tastes even better once all the flavors have had time to mingle. Serve it slightly warm with a scoop of vanilla ice cream, or embrace the breakfast-pie life with a cup of strong coffee.
Store covered at room temperature for up to three days, or refrigerate for up to a week. The crust stays remarkably crisp thanks to that butter technique we talked about. Reheating tip: A quick 10-minute stint in a 350°F oven brings back that just-baked magic.
| Storage Method | How Long | Best For |
|---|---|---|
| Room temperature, covered | 3 days | Fruit pies, quick consumption |
| Refrigerated | 1 week | Cream or custard pies |
| Frozen (whole pie) | 3 months | Make-ahead for holidays |
| Frozen (slices) | 1 month | Portion control, easy reheating |
Expert Quote: The Science Behind Perfect Pastry
According to pastry chef and cookbook author Rose Levy Beranbaum, achieving a perfect pie recipe comes down to temperature control:
“Cold butter creates steam pockets during baking, resulting in that coveted flaky texture. The key is keeping your fat cold and working quickly to prevent melting.”
The Pie and Pastry Bible
This explains why professional bakers chill their dough between every step of the process.
For more delicious recipes and cooking inspiration, follow me on Facebook, Pinterest and Reddit!
I need the Recipe Name, Keyword, and Author Bio to create your personalized food blogger story. Could you please provide those details so I can craft the perfect anecdote for your air fryer recipe?
FAQs
How long does this recipe take to make?
Total time depends on the recipe and your skill level, but plan for 30 to 60 minutes for most weeknight recipes. Prep like chopping and measuring often takes the most time, so mise en place helps. If the recipe has marinating or resting steps, add that extra time. For baking, follow the stated bake time but check early for doneness.
Can I make this recipe ahead of time and store it in the refrigerator?
Yes, many recipes can be made ahead and refrigerated for 2 to 3 days. Store in an airtight container and cool completely before refrigerating to avoid sogginess. Reheat gently on the stove or in the oven to preserve texture. If the dish contains delicate greens or crispy toppings, add those just before serving.
What are common ingredient substitutions available in US grocery stores?
Common swaps include plain yogurt for sour cream, applesauce or mashed banana for some fats in baking, and gluten-free flour blends for regular flour. Use canned beans or rotisserie chicken to save time, and check the international aisle for specialty items. Always adjust seasoning and liquid when swapping ingredients to match texture and taste.
Can I freeze leftovers from this recipe and how should I reheat them?
Many dishes freeze well; cool completely and pack in freezer-safe containers or bags, removing as much air as possible. Label with date and use within 2 to 3 months for best quality. Thaw overnight in the refrigerator before reheating, then warm in the oven or on the stove for even heating. Sauces and baked goods may need a splash of liquid or a short oven time to restore texture.
How do I convert ingredients to US cups and adjust the recipe for dietary needs like gluten-free or dairy-free?
Use a reliable conversion chart or kitchen scale to convert metric to US cups; weight measurements are more accurate for baking. To make the recipe gluten-free, use a 1-to-1 gluten-free flour blend and check for hidden gluten in sauces. For dairy-free swaps, use plant milks, vegan butter, or coconut cream as appropriate. Taste and adjust seasoning when making swaps because texture and flavor can change.

Your New Go-To Perfect Pie Recipe
This perfect pie recipe delivers that golden, flaky crust and endless filling possibilities you’ve been searching for. You’ll love how those simple butter techniques create bakery-worthy results every single time. Twenty minutes of hands-on work, and you’ve got a showstopper that tastes like it took all afternoon.
Try swapping in seasonal fruits or adding a splash of vanilla to the crust for extra warmth. Store leftovers covered at room temperature, though honestly, day-two pie often tastes even better. This method works beautifully for holiday gatherings or quiet Sunday afternoons when you want something special.
I’d love to see your pie creations share a photo and tell me which filling became your family’s favorite! Did this remind you of pies from your childhood? There’s something magical about homemade crust that brings back the sweetest memories. Happy baking, friends!

Perfect Pie Recipe Everyone Will Love Easily
Ingredients
Method
- Preheat the oven to 425°F (220°C).
- In a large bowl, combine flour, salt, and sugar.
- Cut in the chilled butter until mixture resembles coarse crumbs.
- Gradually add ice water, 1 tablespoon at a time, mixing until dough forms.
- Divide dough in half, shape into discs, wrap in plastic, and refrigerate for 30 minutes.
- In a bowl, mix sliced apples with sugar, flour, cinnamon, nutmeg, and lemon juice.
- Roll out one disc of dough on a floured surface to fit a 9-inch pie plate.
- Transfer dough to pie plate and fill with apple mixture.
- Roll out second dough disc and place over filling; seal edges and cut slits on top for steam to escape.
- Brush top crust with beaten egg.
- Bake at 425°F for 15 minutes, then reduce heat to 350°F (175°C) and bake for 30-35 minutes until crust is golden and filling is bubbly.
- Let cool before serving.
Notes
- For a flakier crust, use cold butter and handle dough minimally. You can substitute apples with berries or peaches for variation. Store leftovers covered in the refrigerator for up to 3 days.